How to Send Automated Emails in WordPress
Welcome emails, thank-yous, confirmations and follow-up sequences, sent when something happens on your site — and where your email marketing tool takes over.
4 min read
WordPress already sends emails on its own: password resets, new-user notices, comment alerts. What it cannot do out of the box is send your emails at the moments that matter to your site — a welcome when someone signs up, a thank-you when an order is paid, a nudge when a student finishes a course, a follow-up two days after an enquiry. This guide shows how to set those up without code, from the first email to a short sequence, and where an email tool should take over.
1. Make sure your site’s emails arrive
Automated emails go out the same way as every other email your site sends: through WordPress’ own mailer. That means deliverability is decided by your site’s mail setup, not by the automation. If WordPress’ emails land in spam today, install an SMTP or transactional email plugin first and send yourself a test. Once that works, every email a workflow sends goes through it too.
2. Choose the moment that sends it
Every automated email starts with a trigger: the event that sends it. Good ones to start with:
- A user is created — a welcome email, however the account was made. On every plan.
- An order is paid — a personal thank-you from the shop, as in Thank customers after they pay.
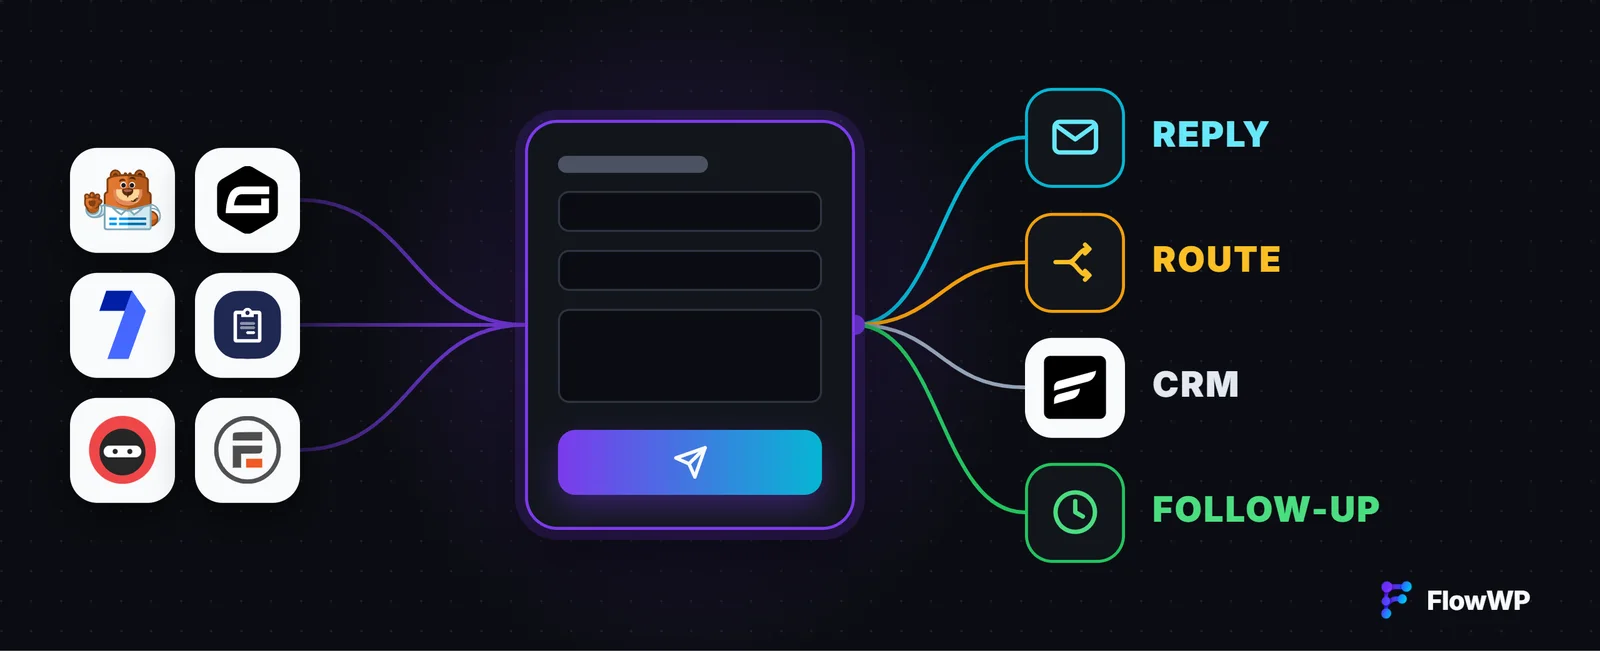
- A form is submitted — a confirmation to the person who wrote. See How to automate WordPress forms.
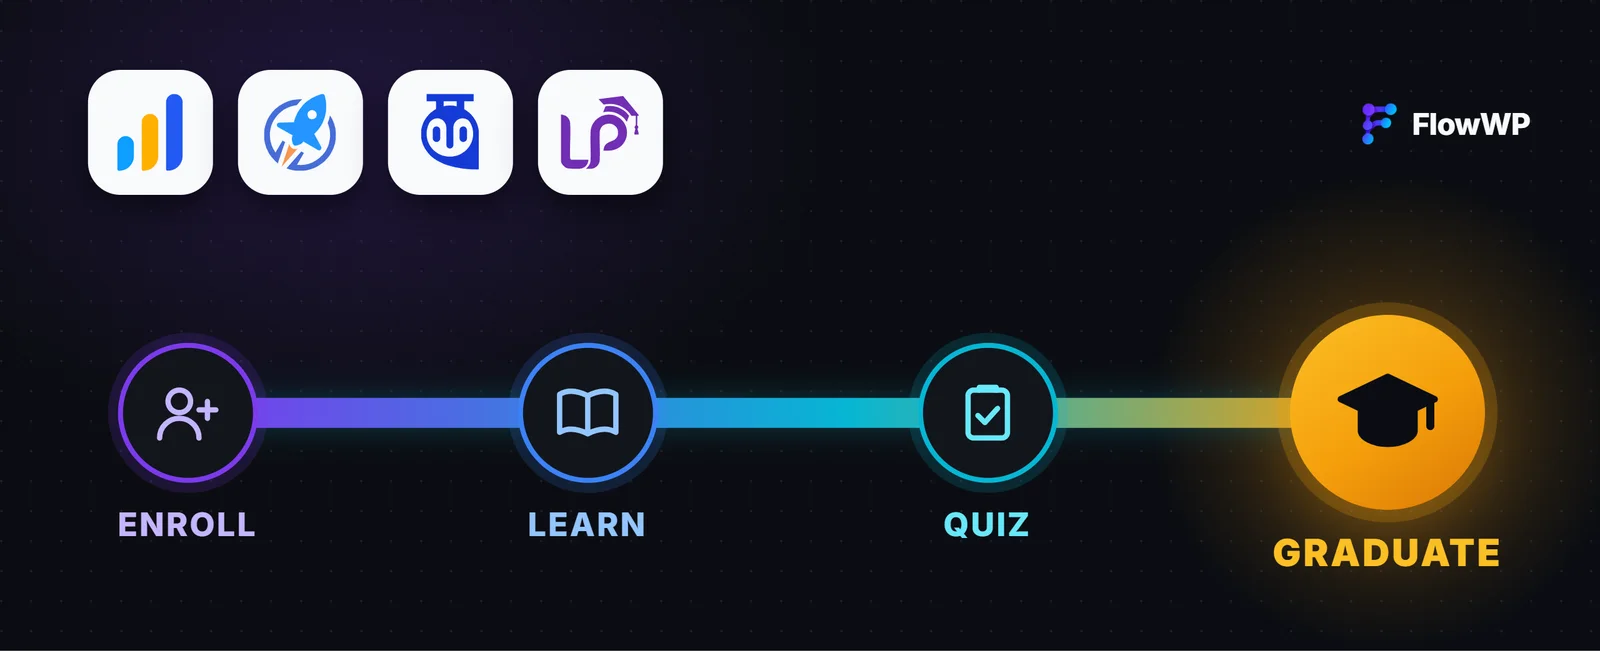
- A student enrolls in or finishes a course — a welcome or a congratulations from LearnDash, LifterLMS, Tutor LMS or LearnPress.
- A user publishes a post — an email to your team or your newsletter writer.
Each integration page lists its triggers and the plan that includes each one.
3. Write the email once, with tokens
Add a Send Email step after the trigger. It is on every plan, Free included. Instead of typing a name or an address, open the token picker in a field and choose what the trigger provides: {{ trigger.user.email }} in To, {{ trigger.user.firstName }} in the greeting. Tokens are filled in on every run, so one email serves every new user. Filters tidy values on the way in — {{ trigger.user.displayName | title }} turns “jane SMITH” into “Jane Smith”. See tokens and data mapping.
Welcome new users by email is this whole workflow, ready to use — and one of the templates included in the free plugin.
4. Send it only when it applies
Not every event deserves an email. Only continue if stops a run quietly unless a rule is met — only for customers, only for one product, only when the order is over an amount. If / Else sends different people different emails: a first-time buyer gets a welcome, a returning one a thank-you. Both are on every plan, with AND / OR rules. See conditions.
5. Turn one email into a sequence
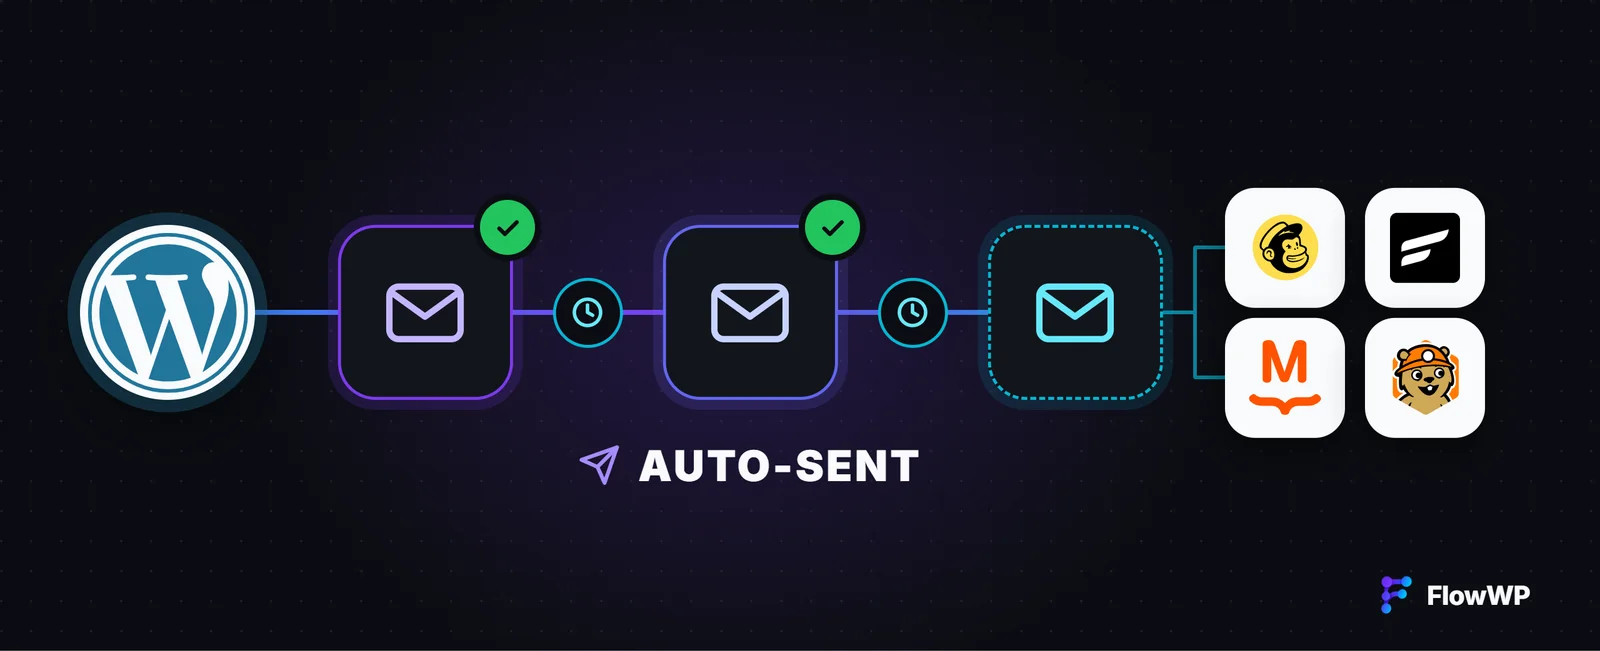
A Delay step waits — minutes, hours or days — before the next step runs (Personal and above). Delays run in the background through Action Scheduler, so a workflow waiting a week holds nothing open.
The useful part is checking again after the wait. Follow up on Contact Form 7 enquiries confirms an enquiry straight away, waits two days, then sends a follow-up only if the person has not become a customer in the meantime. Turn first-time buyers into repeat customers sends a welcome, a check-in three days later and a one-time coupon a week after that — and simply tags returning customers instead. See loops and delays.
6. Hand newsletters to your email tool
Send Email is for one-to-one messages triggered by something a person did. Campaigns to a whole list — newsletters, announcements, promotions — belong in an email marketing tool, with its unsubscribe handling and reports. FlowWP’s job there is to put people on the right list or tag at the right moment:
- Mailchimp (Personal): Put new WordPress users on your Mailchimp audience adds them as Pending, so Mailchimp asks them to confirm first.
- FluentCRM (Personal): add or update a contact, add tags and lists, and check a tag before sending a follow-up.
- Groundhogg (Personal): add or update a contact, add tags, and check a tag before sending a follow-up. From Business, Groundhogg’s own emails can start workflows too: Tell sales when a contact clicks a link tags a contact who clicks a link in one of your emails and tells your team while they are still reading.
- MailPoet (Business): Put buyers of a download on a MailPoet list builds a list of buyers as they buy.
Your email tool then sends to the list, and the list is always current.
7. Test it, then watch the first runs
Test run tries the workflow with example data and shows what every step was given and returned. Emails are rehearsed rather than sent during a test, so nobody receives one by accident. Once the workflow is active, every run is recorded in run history. If WordPress cannot send an email, the step fails with a message telling you to check the site’s mail configuration, and the run shows exactly where it stopped — so a failed email is recorded rather than lost.
What you need
The free plugin covers the essentials: Send Email, WordPress’ own triggers such as a new user, conditions, and no caps on workflows, steps or emails. Delays for sequences, and the Mailchimp, FluentCRM and Groundhogg contact steps, start on Personal; MailPoet and Groundhogg’s email open and click triggers are on Business. For the full picture of what email automation looks like on WordPress, see WordPress email automation.