
Build your first workflow
Send every new user a welcome email: a trigger, an email step, tokens, a test run and activation.
Updated
This guide builds a small, complete workflow: when someone creates an account, send them a welcome email addressed by name. It uses only steps on the Free plan.
1. Create the workflow
- Go to FlowWP → Workflows and start a new workflow from a blank canvas.
- Name it, for example Welcome new users.
Shortcut. The same workflow exists as a template, Welcome new users by email. Building it yourself once shows you how every workflow is put together.
2. Add the trigger
- In the step library on the left, open WordPress and drag A user is created onto the canvas.
- Select it. Its settings open on the right. This trigger runs whenever a new account is created, however it was created.
3. Add the email
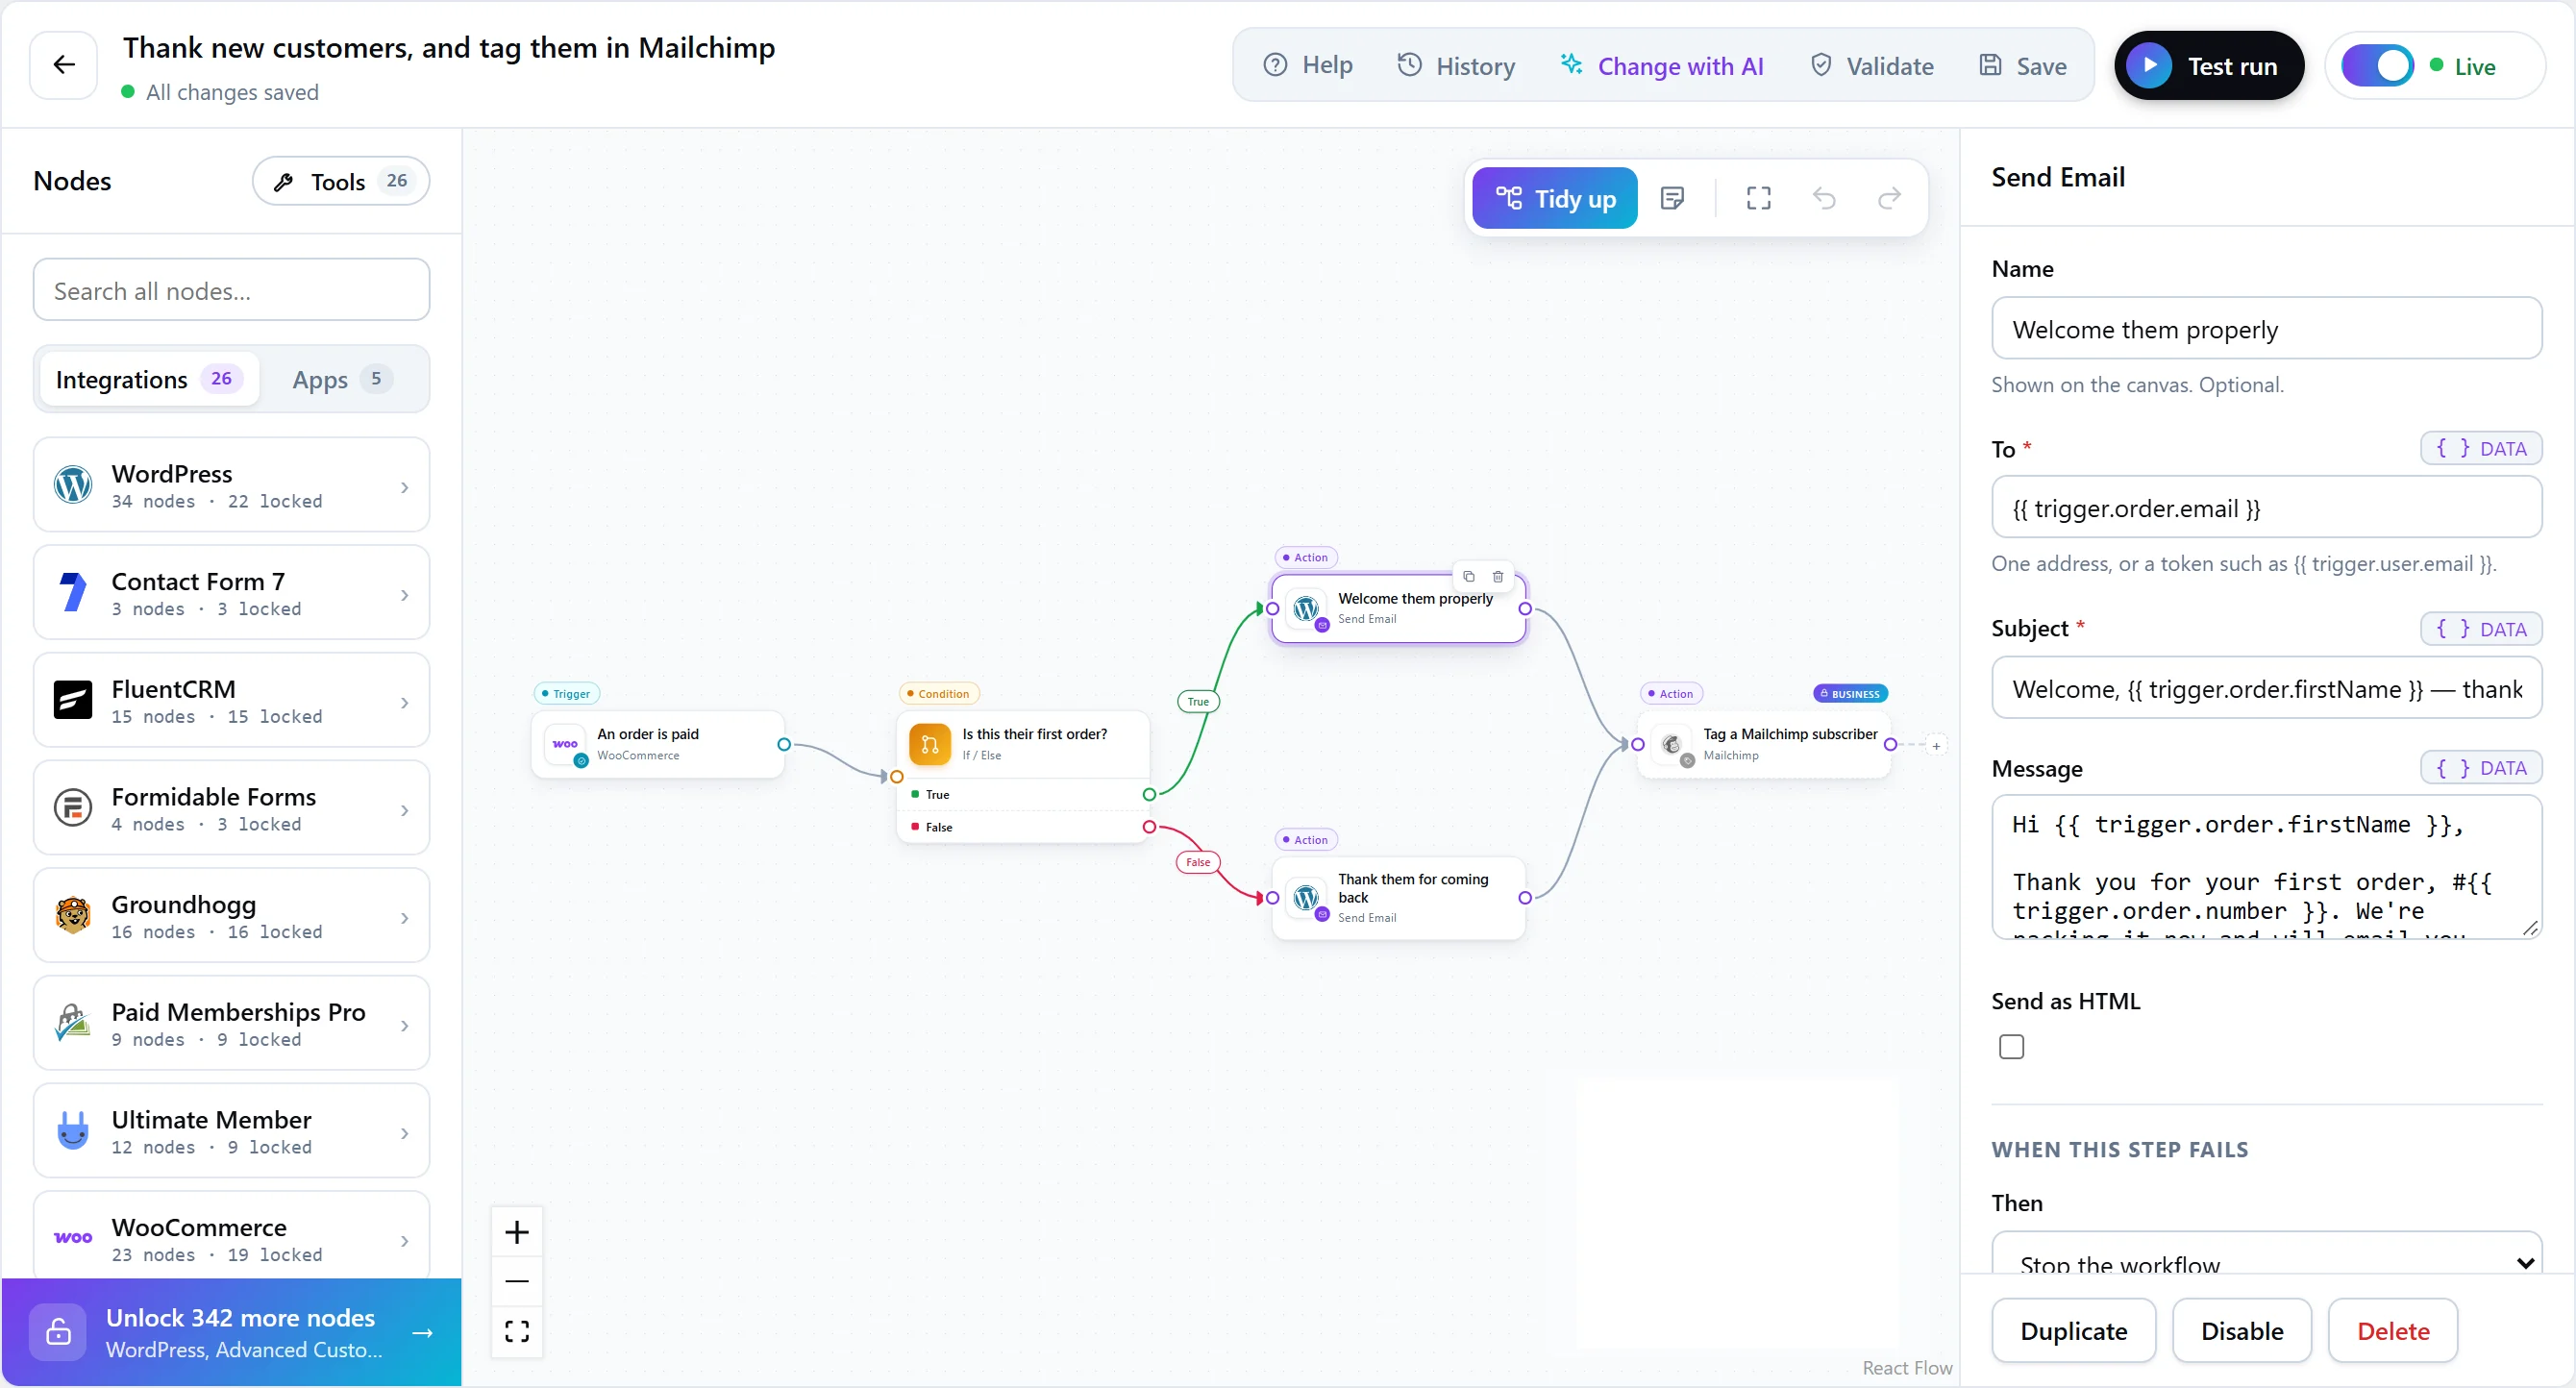
- Drag Send Email onto the canvas and connect the trigger’s output to it.
- In To, open the token picker and choose the new user’s email. The field shows
{{ trigger.user.email }}. - Write the subject and message, using tokens where you want the person’s details:
Subject: Welcome, {{ trigger.user.displayName }}!

Hi {{ trigger.user.displayName }},

Thanks for creating an account — we're glad you're here.
You can sign in any time with the username {{ trigger.user.login }}.
Tick Send as HTML if your message uses HTML. The email goes out through your site’s configured mailer, the same way WordPress sends its own emails.
4. Test it
Press Test run. FlowWP saves the workflow and runs it straight away with example data for the trigger. Steps that would change something are rehearsed: the email step shows what it would send instead of sending it. The results panel lists every step with what it was given and what it returned.
5. Switch it on
Use the switch at the end of the toolbar to activate the workflow. FlowWP checks that everything is set up first and tells you what to fix if something is missing. Once it is live, it runs every time its trigger fires.
6. Watch the first runs
Create a test account, then open Run history at the top of any FlowWP screen. The run is there with each step’s input and output. If the email step failed with WordPress could not send the email, your site’s mail setup needs attention; FlowWP reports it rather than claiming success.
Next steps
- Send different emails to different people with conditions.
- Follow up a few days later with a delay.
- Learn everything tokens can do in Tokens and data mapping.